[cmsms_row data_padding_bottom=”50″ data_padding_top=”0″ data_overlay_opacity=”50″ data_color_overlay=”#000000″ data_bg_parallax_ratio=”0.5″ data_bg_size=”cover” data_bg_attachment=”scroll” data_bg_repeat=”no-repeat” data_bg_position=”top center” data_bg_color=”#ffffff” data_color=”default” data_padding_right=”3″ data_padding_left=”3″ data_width=”boxed”][cmsms_column data_width=”1/1″][cmsms_text animation_delay=”0″]

[/cmsms_text][cmsms_heading type=”h1″ font_weight=”400″ font_style=”normal” text_align=”left” target=”self” custom_colors=”true” color=”#4ecdc4″ color_transparency=”100″ margin_top=”0″ margin_bottom=”20″ animation_delay=”0″]Bucket Filter Assembly Instructions[/cmsms_heading][cmsms_text animation_delay=”0″]

1. Use the handheld drill to drill a hole in the bucket. Place hole 3 inches from bottom of bucket to allow for sediment accumulation. The recipients should drill their own bucket and assemble their own filter as this will increase their sense of ownership.

2. Insert bucket connector by placing one washer on either side of hole.

3. Tighten connector with nut provided.
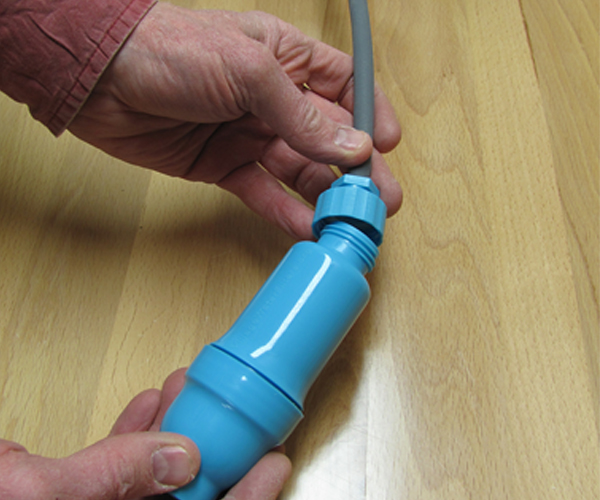
4. Screw filter housing to hose connector.

5. Place filter hanger on filter housing. Use this to hang filter on bucket to stop water flow.
6. Use second hanger to store syringe on bucket.
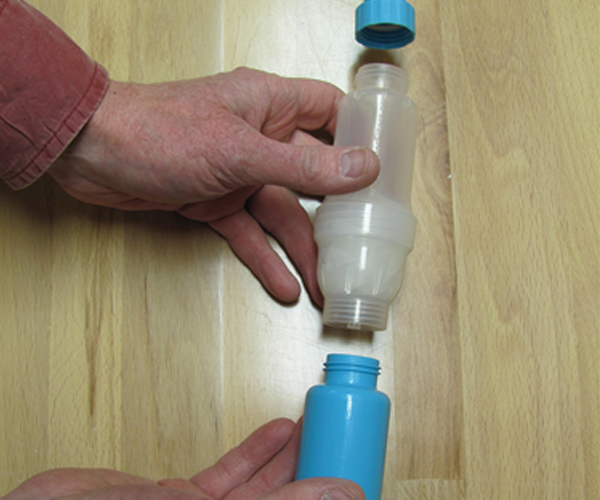
1A. If you purchased the Prefilter, then it should be installed prior to installing the final filter.
[/cmsms_text][cmsms_text animation_delay=”0″]
[/cmsms_text][/cmsms_column][/cmsms_row]